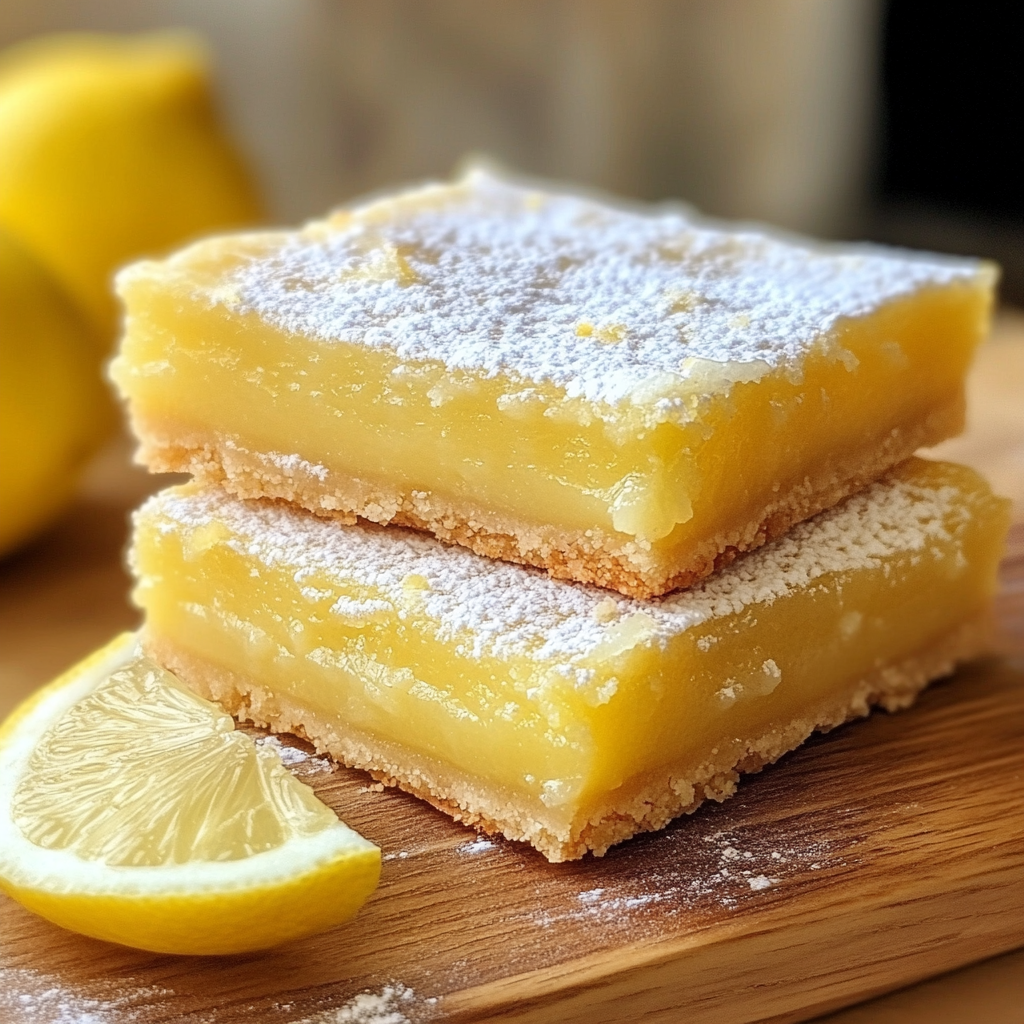
Lemon bars are a timeless dessert that balances the tangy sweetness of lemon with a buttery, crumbly crust. They are refreshing, zesty, and perfect for any occasion, from a summer barbecue to a holiday treat or a simple snack. The combination of the shortbread-like base and the smooth, citrusy filling makes lemon bars an irresistible dessert for lemon lovers.
In this recipe, we will guide you step-by-step to create classic lemon bars, from preparing the crust to making the lemon filling and topping it off with a dusting of powdered sugar. Let’s dive in and make this tangy, sweet treat from scratch!
Ingredients:
For the Crust:
- 1 1/2 cups all-purpose flour
- 1/4 cup granulated sugar
- 1/2 teaspoon salt
- 1/2 cup unsalted butter, softened
For the Lemon Filling:
- 1 1/2 cups granulated sugar
- 1 tablespoon all-purpose flour
- 1/2 teaspoon baking powder
- 4 large eggs
- 1/2 cup fresh lemon juice (about 3-4 lemons)
- Zest of 1 lemon
- Powdered sugar (for dusting)
Instructions:
Step 1: Prepare the Crust
- Preheat the Oven: Preheat your oven to 350°F (175°C). This ensures that the oven is at the right temperature when you’re ready to bake the crust.
- Mix the Dry Ingredients: In a medium-sized bowl, whisk together the all-purpose flour, granulated sugar, and salt. This will be the dry mixture for the crust.
- Cut in the Butter: Add the softened butter to the dry ingredients. Use a pastry cutter, fork, or your hands to cut the butter into the dry ingredients until the mixture resembles coarse crumbs. The butter should be fully incorporated, and the mixture should hold together when pressed.
- Press the Crust into the Pan: Transfer the crumbly mixture into a 9×13-inch baking pan. Use your fingers or the back of a spoon to press the mixture evenly into the bottom of the pan, forming a smooth, even crust. Be sure to press it into all the corners and edges of the pan.
- Bake the Crust: Bake the crust in the preheated oven for 18-20 minutes or until it is golden and slightly firm. Once done, remove it from the oven and set it aside to cool slightly while you prepare the lemon filling.
Step 2: Prepare the Lemon Filling
- Mix the Dry Ingredients: In a large bowl, whisk together the granulated sugar, flour, and baking powder. This dry mixture will help thicken the lemon filling.
- Add the Eggs: Crack the eggs into the bowl and whisk until smooth and well combined. Be sure to mix thoroughly so that there are no streaks of egg whites in the mixture.
- Add Lemon Juice and Zest: Stir in the fresh lemon juice and lemon zest. The zest adds an additional burst of citrus flavor, which enhances the freshness of the lemon filling.
- Combine the Filling: Whisk everything together until fully combined. The mixture should be smooth, slightly thickened, and have a lovely lemony fragrance.
Step 3: Assemble the Lemon Bars
- Pour the Filling Over the Crust: After the crust has cooled slightly, pour the prepared lemon filling over the crust. Use a spatula to spread the filling evenly across the crust.
- Bake the Lemon Bars: Return the pan to the oven and bake for an additional 20-25 minutes. The filling should be set, slightly puffed up, and firm to the touch. When you gently shake the pan, the filling should no longer wobble.
- Cool the Bars: Once baked, remove the pan from the oven and allow the lemon bars to cool completely at room temperature. The bars will firm up as they cool. Once cooled, you can place the pan in the refrigerator for about an hour to make slicing easier.
Step 4: Slice and Serve
- Slice the Lemon Bars: Once the bars have cooled and set, run a sharp knife around the edges of the pan to loosen them. Then, cut them into squares or rectangles, depending on your preference. Clean the knife between cuts for smooth edges.
- Dust with Powdered Sugar: Just before serving, dust the top of the bars with a light coating of powdered sugar. This adds a beautiful finish and balances out the tartness of the lemon with a touch of sweetness.
- Serve and Enjoy: Serve the lemon bars chilled or at room temperature. These bars are refreshing, tangy, and perfectly sweet, making them a delightful dessert for any occasion.
Tips for the Perfect Lemon Bars
- Use Fresh Lemons: Fresh lemon juice and zest are key to getting that bright, citrusy flavor in your lemon bars. Bottled lemon juice won’t provide the same freshness, so always opt for fresh lemons if possible.
- Don’t Overbake: Keep an eye on the lemon bars as they bake. The filling should set but still have a slight wobble in the center. Overbaking can cause the filling to become too firm or dry.
- Chill Before Slicing: Allow the lemon bars to cool completely, or even chill them in the fridge for an hour, before slicing. This will help the filling set and prevent the bars from falling apart when cut.
- Use a Clean Knife for Slicing: For clean slices, wipe the knife between cuts. This will prevent the filling from sticking to the knife and give you neat, even bars.
- Adjust Sweetness to Taste: If you prefer a sweeter lemon filling, you can slightly increase the sugar amount in the filling. However, be careful not to make it too sweet, as the tartness of the lemon is what gives the bars their refreshing flavor.
Creative Variations on Classic Lemon Bars
While the classic lemon bar is always a hit, there are plenty of ways to add a twist to this beloved recipe. Here are a few fun ideas:
- Lemon Coconut Bars: Add 1/2 cup of shredded coconut to the crust or filling for a tropical twist. The coconut adds a chewy texture and complements the tangy lemon flavor.
- Blueberry Lemon Bars: Add fresh or frozen blueberries to the lemon filling before baking. You can also swirl blueberry compote into the filling for a fruity, colorful touch.
- Raspberry Lemon Bars: Add raspberry puree or whole raspberries to the filling for a sweet-tart contrast to the lemon flavor. You can swirl in raspberry jam or layer fresh raspberries between the crust and the filling.
- Lime Bars: For a variation, swap the lemon juice and zest with lime juice and zest. Lime bars have a similar tartness but a slightly different flavor profile.
- Ginger Lemon Bars: Add 1/2 teaspoon of ground ginger to the filling or the crust for a warm, spicy kick that complements the citrusy lemon flavor.
Storing and Freezing Lemon Bars
Storing: Lemon bars can be stored in an airtight container in the refrigerator for up to 5 days. Make sure the bars are fully cooled before storing them to prevent condensation from making them soggy.
Freezing: Lemon bars freeze very well. To freeze, first, let them cool completely, then cut them into squares. Place them on a baking sheet in a single layer and freeze until firm. Once frozen, transfer them to a freezer-safe container or zip-top bag. They can be stored in the freezer for up to 2 months. To thaw, leave them in the refrigerator for a few hours or let them sit at room temperature for about 30 minutes.
Final Thoughts
Classic lemon bars are the perfect balance of sweet and tart, with a buttery crust and a smooth, zesty filling. Whether you enjoy them as an afternoon treat, a dessert for a dinner party, or as a refreshing addition to a summer picnic, these lemon bars are sure to please. With their bright citrus flavor and melt-in-your-mouth texture, they’re bound to become a favorite in your dessert repertoire.
Enjoy baking and sharing this delightful classic lemon bar recipe with friends and family. The tangy, refreshing taste of lemon will leave everyone coming back for more!