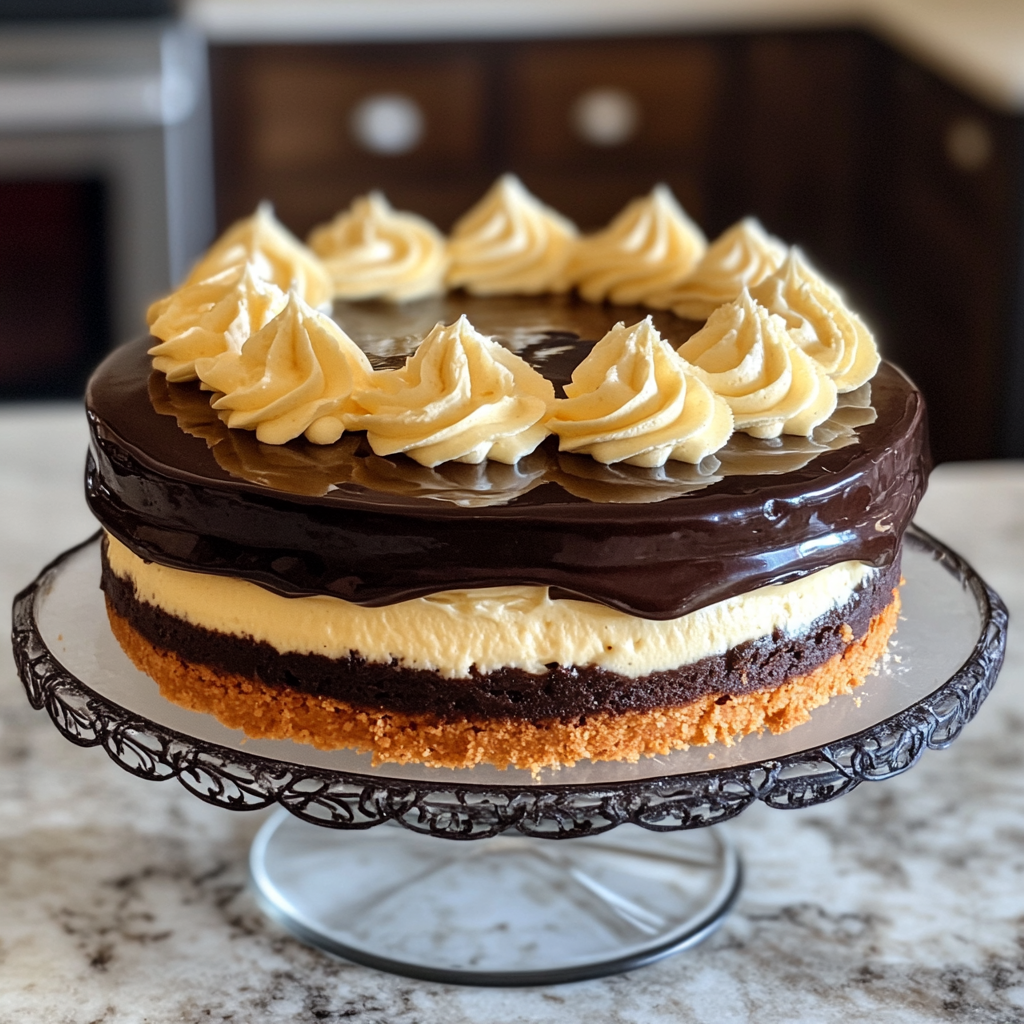
Boston Cream Pie is an iconic American dessert that consists of a moist, fluffy cake filled with rich vanilla custard, and topped with a glossy layer of chocolate ganache. Despite the name, it’s actually a cake, not a pie, and it has been a beloved treat since the 19th century. Boston Cream Pie is perfect for celebrations, family gatherings, or just as a comforting indulgence. This recipe will guide you step-by-step through the process of making a traditional, classic Boston Cream Pie from scratch.
Ingredients:
For the Cake:
- 1 1/2 cups all-purpose flour
- 1 1/2 teaspoons baking powder
- 1/4 teaspoon salt
- 1/2 cup unsalted butter, softened
- 1 cup granulated sugar
- 4 large eggs
- 1 teaspoon vanilla extract
- 1/2 cup whole milk
- 1/2 teaspoon vanilla extract (for the cake)
For the Pastry Cream (Custard Filling):
- 2 cups whole milk
- 1/2 cup granulated sugar
- 1 vanilla bean or 2 teaspoons vanilla extract
- 4 large egg yolks
- 1/4 cup cornstarch
- 2 tablespoons unsalted butter
- Pinch of salt
For the Chocolate Ganache:
- 4 ounces semisweet or bittersweet chocolate, chopped
- 1/2 cup heavy cream
- 1 tablespoon unsalted butter (optional, for extra shine)
Instructions:
Step 1: Prepare the Cake
- Preheat the Oven: Preheat your oven to 350°F (175°C). Grease and flour two 9-inch round cake pans or line the bottom of each with parchment paper. This ensures the cake will come out easily after baking.
- Mix Dry Ingredients: In a small bowl, sift together the all-purpose flour, baking powder, and salt. Set this aside as you prepare the wet ingredients.
- Cream the Butter and Sugar: In a large mixing bowl, use an electric mixer to cream the softened butter and granulated sugar together on medium speed. Beat until the mixture is light and fluffy, about 3-4 minutes.
- Add the Eggs and Vanilla: Add the eggs one at a time, beating well after each addition. Then, add the 1 teaspoon of vanilla extract and mix until incorporated.
- Alternate Adding the Dry Ingredients and Milk: Gradually add the flour mixture in three parts, alternating with the 1/2 cup of milk in two parts, starting and ending with the dry ingredients. Mix until just combined, being careful not to overmix, which can lead to a dense cake.
- Bake the Cake: Divide the batter evenly between the two prepared cake pans. Use a spatula to smooth the tops of the batter. Bake in the preheated oven for 25-30 minutes, or until a toothpick inserted into the center comes out clean. If needed, rotate the pans halfway through baking for even results.
- Cool the Cake: Allow the cakes to cool in the pans for 10 minutes, then turn them out onto a wire rack to cool completely. The cakes must be completely cooled before filling and frosting, so be patient and allow them to cool fully.
Step 2: Prepare the Pastry Cream (Custard Filling)
- Heat the Milk: In a medium saucepan, pour the milk and add the vanilla bean (if using). Heat the mixture over medium heat until it is just about to simmer. If you’re using vanilla extract, wait to add it until after you remove the milk from the heat.
- Whisk the Egg Yolks and Sugar: In a separate bowl, whisk together the egg yolks, granulated sugar, and cornstarch until smooth and pale. This step helps to prevent lumps from forming when combining the eggs with the hot milk.
- Temper the Egg Yolks: Slowly pour a small amount of the hot milk into the egg mixture while whisking constantly to temper the eggs. This gradual addition of hot liquid helps prevent the eggs from curdling. Once the egg mixture is warmed up, pour it back into the saucepan with the remaining milk, whisking constantly.
- Thicken the Custard: Return the saucepan to medium heat and whisk constantly until the mixture thickens and begins to bubble. This will take about 3-5 minutes. Be patient and keep whisking to prevent the custard from burning or forming lumps.
- Finish the Pastry Cream: Once the custard has thickened, remove the saucepan from the heat. If you used a vanilla bean, remove it now and discard it. Add the butter and salt, and stir until the butter is melted and incorporated. If you used vanilla extract, stir it in now.
- Chill the Pastry Cream: Transfer the pastry cream to a bowl and cover it with plastic wrap, pressing the wrap directly onto the surface of the cream to prevent a skin from forming. Let it cool to room temperature, then refrigerate for at least 1 hour to fully set.
Step 3: Make the Chocolate Ganache
- Heat the Cream: In a small saucepan, heat the heavy cream over medium heat until it just starts to simmer. Remove from heat.
- Melt the Chocolate: Place the chopped semisweet or bittersweet chocolate in a heatproof bowl. Pour the hot cream over the chocolate and let it sit for 1-2 minutes to soften the chocolate. Stir until smooth and fully combined.
- Add Butter for Extra Shine (Optional): If desired, add 1 tablespoon of unsalted butter to the ganache for extra richness and shine. Stir until fully melted and smooth.
- Let the Ganache Cool: Allow the ganache to cool for 10-15 minutes until it thickens slightly and becomes spreadable.
Step 4: Assemble the Boston Cream Pie
- Layer the First Cake: Place one of the cooled cake layers on a serving plate or cake stand. Spread the chilled pastry cream evenly over the top, making sure to leave a small border around the edges so it doesn’t spill out.
- Top with the Second Cake: Place the second cake layer on top of the pastry cream, pressing gently to secure it. Be careful not to press too hard, as this could cause the pastry cream to squish out.
- Top with Ganache: Pour the chocolate ganache over the top of the cake, spreading it evenly over the top and letting it drip down the sides. For an elegant touch, you can let the ganache drip over the edges, creating a beautiful finish.
- Chill the Cake: Refrigerate the assembled Boston Cream Pie for at least 2 hours before serving. This allows the ganache to set and helps the layers firm up, making it easier to slice.
Step 5: Serve and Enjoy
- Slice the Cake: After the cake has chilled, it’s ready to serve! Use a sharp knife to slice it into wedges. The custard filling should be smooth, and the chocolate ganache should be firm and glossy.
- Optional Garnishes: You can garnish the Boston Cream Pie with whipped cream, fresh berries, or a dusting of powdered sugar for extra flair. If you want to add a little extra, a few shaved chocolate curls on top can elevate the presentation.
Tips for the Perfect Boston Cream Pie
- Use Fresh Ingredients: Ensure that the eggs, milk, and butter are fresh, as these ingredients play a large role in the flavor and texture of the cake and pastry cream.
- Make the Cake Layers Even: For evenly baked layers, make sure to spread the batter evenly in the pans. If you’re unsure, you can use a kitchen scale to ensure the same amount of batter in each pan.
- Chill the Pastry Cream: This is crucial for the filling to set properly. If you don’t allow it to chill enough, it may not hold its shape when you slice the cake.
- Don’t Overcook the Ganache: Be sure to heat the cream until it just starts to simmer, not to a full boil. Overheating can cause the chocolate to seize up and result in a grainy ganache.
- Serve Cold: Boston Cream Pie is best served chilled, as this ensures the custard remains firm and the chocolate ganache is smooth and glossy.
Creative Variations of Boston Cream Pie
- Chocolate Cake Version: For an even richer dessert, you can substitute the yellow cake for a rich chocolate cake. This creates a chocolate version of Boston Cream Pie with a decadent chocolate flavor throughout.
- Mini Boston Cream Pies: For individual servings, you can bake the cake in muffin tins or use smaller cake pans and assemble mini Boston Cream Pies. These are great for parties or for serving a smaller crowd.
- Flavor Variations: Experiment with different fillings, such as adding a hint of almond extract to the pastry cream or infusing the ganache with a small amount of coffee or liqueur for a twist on the classic.
Storing and Freezing Boston Cream Pie
Refrigeration: Store the Boston Cream Pie in the refrigerator for up to 3 days. Be sure to cover it loosely with plastic wrap or store it in an airtight container.
Freezing: You can freeze the unassembled cake layers and custard separately for up to 2 months. However, the ganache should be made fresh when you’re ready to assemble and serve. After assembling, the cake does not freeze well due to the custard filling, so it’s best enjoyed fresh.
Final Thoughts
Classic Boston Cream Pie is a delightful dessert that combines soft cake, creamy custard, and rich chocolate ganache. It’s a dessert that’s perfect for any celebration and is sure to impress with its impressive layers and irresistible flavors. With a little patience and the right ingredients, you’ll be able to create this timeless treat that’s as delicious as it is beautiful.
Enjoy making your Classic Boston Cream Pie, and enjoy every delicious bite!
4o mini