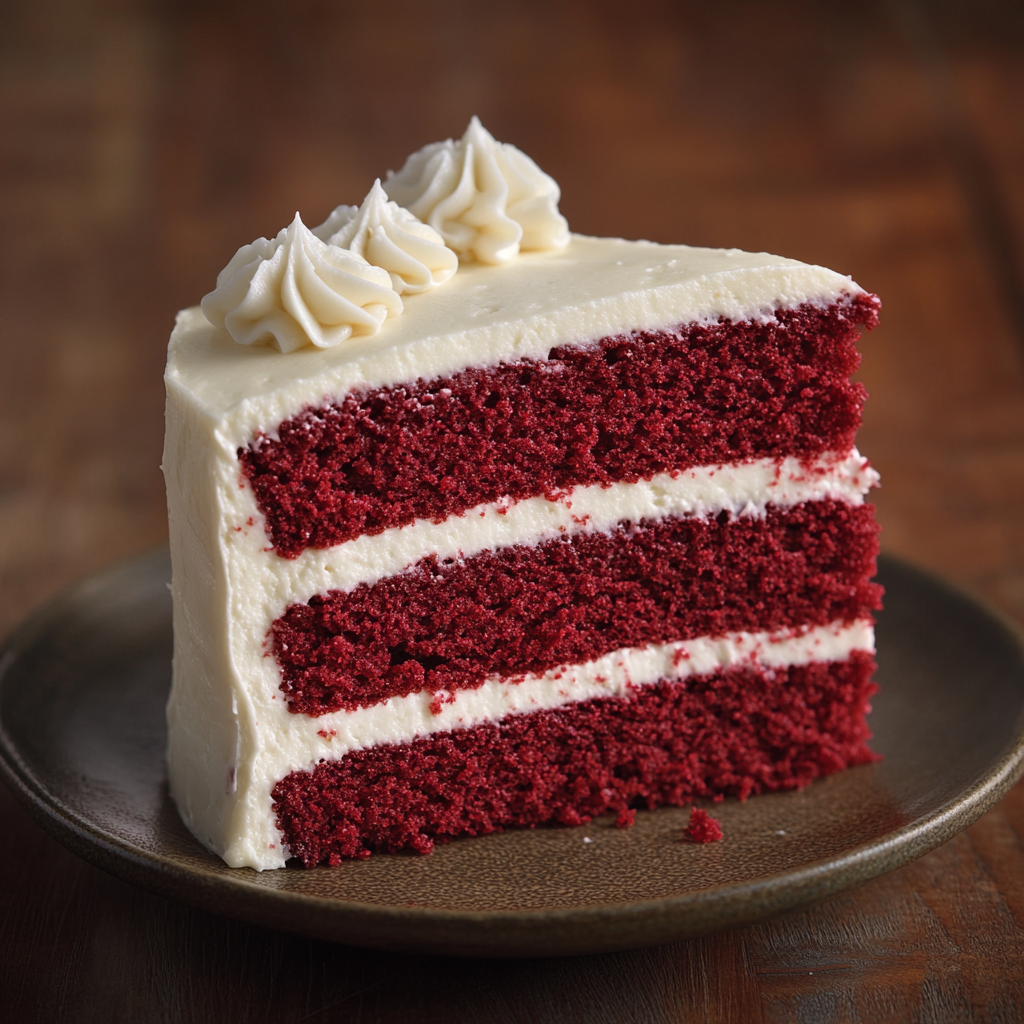
Red velvet cake is a beloved Southern classic known for its vibrant red color, soft and moist texture, and a delicate cocoa flavor that is complemented by a tangy cream cheese frosting. This iconic cake is perfect for a special occasion, such as birthdays, holidays, or any time you want to make a statement with a delicious and visually striking dessert.
In this recipe, we will walk you through the steps to make a classic red velvet cake from scratch, complete with a rich cream cheese frosting. Whether you’re a novice baker or an experienced home cook, this recipe is easy to follow and will leave you with a beautifully smooth and velvety cake every time.
Ingredients:
For the Red Velvet Cake:
- 2 1/2 cups all-purpose flour
- 1 1/2 cups granulated sugar
- 1 teaspoon baking powder
- 1 teaspoon baking soda
- 1/2 teaspoon salt
- 1 tablespoon cocoa powder
- 1 1/2 cups vegetable oil
- 2 large eggs, at room temperature
- 1 teaspoon vanilla extract
- 1 tablespoon white vinegar
- 1 cup buttermilk, at room temperature
- 2 tablespoons red food coloring (liquid or gel)
For the Cream Cheese Frosting:
- 8 ounces cream cheese, softened
- 1/2 cup unsalted butter, softened
- 4 cups powdered sugar
- 2 teaspoons vanilla extract
- Pinch of salt
Instructions:
Step 1: Prepare the Cake
- Preheat the Oven: Preheat your oven to 350°F (175°C). Grease and flour two 9-inch round cake pans, or line the bottoms with parchment paper for easy cake removal.
- Mix the Dry Ingredients: In a large mixing bowl, sift together the all-purpose flour, granulated sugar, baking powder, baking soda, salt, and cocoa powder. Whisk them together to ensure the dry ingredients are evenly distributed.
- Prepare the Wet Ingredients: In a separate bowl, whisk together the vegetable oil, eggs, vanilla extract, vinegar, buttermilk, and red food coloring. The oil gives the cake its moist texture, while the buttermilk adds richness and a slight tang. The vinegar and food coloring are key to achieving the signature red color and tender crumb.
- Combine Wet and Dry Ingredients: Gradually add the wet ingredients to the dry ingredients, mixing gently with a spatula or a hand mixer on low speed until combined. Be careful not to overmix the batter, as this can make the cake dense. Scrape the sides of the bowl to ensure everything is evenly incorporated.
- Bake the Cake: Divide the batter evenly between the two prepared cake pans. Use a spatula to smooth the tops of the batter. Bake in the preheated oven for 25-30 minutes, or until a toothpick inserted into the center of the cakes comes out clean. The cakes should be soft and slightly firm to the touch.
- Cool the Cakes: Remove the cakes from the oven and allow them to cool in the pans for about 10 minutes. Afterward, transfer the cakes to a wire rack to cool completely. It’s important to let the cakes cool fully before frosting them to prevent the cream cheese frosting from melting.
Step 2: Make the Cream Cheese Frosting
- Beat the Cream Cheese and Butter: In a medium mixing bowl, beat the softened cream cheese and butter together using an electric mixer on medium speed until the mixture is smooth, creamy, and fully incorporated. This will be the base of your frosting.
- Add Powdered Sugar and Vanilla: Gradually add the powdered sugar, 1/2 cup at a time, beating well after each addition. This helps prevent the powdered sugar from flying everywhere and ensures the frosting is smooth. Add the vanilla extract and a pinch of salt, then beat for 2-3 minutes on medium speed until the frosting is light and fluffy.
- Adjust the Consistency: If the frosting is too thick, you can add a tablespoon or two of milk or cream to achieve your desired consistency. It should be smooth, spreadable, and able to hold its shape when spread over the cake.
Step 3: Assemble the Cake
- Level the Cake Layers (If Necessary): Once the cakes have cooled completely, use a serrated knife to level the tops of the cakes, if they have domed during baking. This will ensure that the layers stack evenly and the frosting doesn’t slide off.
- Frost the First Layer: Place one of the cooled cake layers on a serving platter or cake stand. Use an offset spatula to spread a generous layer of cream cheese frosting over the top of the first layer. Be sure to spread the frosting all the way to the edges, but leave a small border to avoid spilling over the sides.
- Add the Second Cake Layer: Place the second cake layer on top of the frosted first layer. Press gently to secure the layers together.
- Frost the Top and Sides: Spread the remaining cream cheese frosting evenly over the top and sides of the cake. Use the offset spatula to smooth the frosting, or create a more textured look by swirling the frosting with the spatula for a decorative finish.
- Garnish (Optional): You can garnish the top of the cake with additional decorations if you like. Crushed pecans, chopped walnuts, or even a light dusting of cocoa powder or red sugar crystals can add an extra touch of flair.
Step 4: Serve and Enjoy
- Chill the Cake: While this step is optional, chilling the cake for 30 minutes to an hour in the refrigerator will help the frosting set and make it easier to slice.
- Slice the Cake: After the frosting has set, slice the cake into wedges using a sharp knife. If the frosting begins to stick to the knife, wipe it clean between slices for neat cuts.
- Serve: Serve the red velvet cake at room temperature with a scoop of vanilla ice cream or a cup of coffee for the perfect pairing. This rich, creamy cake is perfect for any occasion and is sure to leave your guests coming back for more.
Tips for the Perfect Red Velvet Cake
- Use Room Temperature Ingredients: For the best texture, make sure your eggs, buttermilk, and butter are at room temperature before starting. This allows the ingredients to blend together smoothly and creates a more uniform batter.
- Don’t Overmix the Batter: Overmixing the batter can cause the cake to be dense. Once the wet and dry ingredients are combined, mix gently until everything is incorporated.
- Achieve the Perfect Color: The red color in red velvet cake comes from the food coloring. If you prefer a more vibrant color, you can use gel food coloring, which gives a richer hue compared to liquid food coloring. Adjust the amount based on the desired shade.
- Make it in Advance: Red velvet cake actually tastes better the next day as the flavors have time to meld together. You can make the cake ahead of time and store it in the refrigerator, tightly covered, for up to 3 days.
- Don’t Skip the Buttermilk: Buttermilk is an essential ingredient in red velvet cake, as it provides the right amount of acidity to balance the richness of the oil and cocoa. If you don’t have buttermilk, you can substitute it by adding 1 tablespoon of lemon juice or vinegar to 1 cup of milk. Let it sit for 5 minutes before using.
Creative Variations of Classic Red Velvet Cake
- Red Velvet Cupcakes: For a fun twist on the classic cake, turn the red velvet into cupcakes. Simply divide the batter between a 12-cup cupcake tin lined with paper liners and bake at 350°F (175°C) for 18-22 minutes, or until a toothpick inserted into the center comes out clean. Frost with cream cheese frosting once they’ve cooled.
- Red Velvet Cheesecake Cake: For a decadent variation, make a layered cake that combines red velvet and cheesecake. Layer a red velvet cake on top of a rich, creamy cheesecake for a showstopping dessert.
- Chocolate Red Velvet Cake: For a chocolate lover’s version of red velvet cake, add more cocoa powder to the cake batter to enhance the chocolate flavor. The result will be a richer red velvet cake with a deeper flavor.
- Vegan Red Velvet Cake: To make a vegan red velvet cake, substitute the eggs with flax eggs (1 tablespoon ground flaxseed + 3 tablespoons water per egg) and use non-dairy milk and vegan butter. Vegan cream cheese frosting can be made using dairy-free cream cheese and powdered sugar.
Storing and Freezing Red Velvet Cake
Storing: Store any leftover red velvet cake in an airtight container in the refrigerator for up to 4 days. The cake stays moist and flavorful for several days.
Freezing: You can freeze red velvet cake for up to 3 months. Wrap individual slices or the whole cake tightly in plastic wrap and aluminum foil, or place in an airtight container. When ready to serve, thaw the cake in the refrigerator overnight and bring it to room temperature before serving.
Final Thoughts
Classic red velvet cake is a dessert that never goes out of style. With its moist texture, subtly tangy flavor, and creamy cream cheese frosting, it’s the perfect cake for any occasion. Whether you’re celebrating a special event or just indulging in a delicious dessert, this red velvet cake will always leave a lasting impression. It’s a great way to showcase the rich flavors of cocoa and buttermilk, while its vibrant color makes it as visually striking as it is delicious.
Enjoy making this timeless dessert and sharing it with friends and family—you’ll love every bite!