Banana pudding is a nostalgic and beloved dessert that has been a staple of Southern kitchens for generations. Its creamy, vanilla-flavored pudding, layers of fresh bananas, and crunchy vanilla wafer cookies come together in a deliciously satisfying dessert that’s sure to be a crowd-pleaser. Whether served in individual cups, a large trifle bowl, or a simple casserole dish, this classic dessert always delivers the perfect balance of textures and flavors.
In this recipe, we’ll walk you through how to make a homemade banana pudding from scratch. We’ll cover everything from the vanilla pudding base to layering the bananas and wafers, and even how to bake the perfect golden meringue topping for an extra touch of sweetness.
Ingredients:
For the Vanilla Pudding:
- 2 1/2 cups whole milk
- 1 cup heavy cream
- 3/4 cup granulated sugar
- 3 tablespoons cornstarch
- 1/4 teaspoon salt
- 4 large egg yolks (save the whites for the meringue)
- 2 teaspoons vanilla extract
- 2 tablespoons unsalted butter
For the Meringue:
- 4 large egg whites
- 1/4 teaspoon cream of tartar
- 1/2 cup granulated sugar
For the Banana Pudding Assembly:
- 1 box of vanilla wafer cookies (about 12 ounces)
- 4-5 ripe bananas, sliced
Instructions:
Step 1: Prepare the Vanilla Pudding
- Heat the Milk and Cream: In a medium saucepan, combine the whole milk and heavy cream. Place the saucepan over medium heat and heat the mixture, stirring occasionally, until it begins to steam. Be careful not to let it boil.
- Mix the Dry Ingredients: In a separate bowl, whisk together the granulated sugar, cornstarch, and salt until everything is evenly combined.
- Temper the Egg Yolks: In a separate bowl, whisk the egg yolks until they’re smooth and slightly pale. Slowly pour a small amount of the hot milk mixture into the egg yolks while whisking constantly to temper the eggs. This prevents the eggs from curdling when they’re added to the hot milk.
- Combine the Mixtures: Once the egg yolks have been tempered, gradually add the egg yolk mixture back into the saucepan with the hot milk, whisking constantly. Continue to cook over medium heat, whisking continuously, until the mixture thickens and starts to bubble gently.
- Finish the Pudding: Once the pudding has thickened to a custard-like consistency, remove it from the heat. Stir in the vanilla extract and butter until fully incorporated. The butter will make the pudding extra smooth and creamy. Set the pudding aside to cool for a few minutes.
- Cool the Pudding: Cover the pudding with plastic wrap, pressing it directly onto the surface of the pudding to prevent a skin from forming. Allow it to cool to room temperature while you prepare the meringue.
Step 2: Prepare the Meringue
- Whisk the Egg Whites: In a clean mixing bowl, beat the egg whites with an electric mixer on medium-high speed until they become frothy. Once frothy, add the cream of tartar, which helps stabilize the meringue.
- Add the Sugar: Gradually add the granulated sugar, about 1 tablespoon at a time, while continuing to beat the egg whites. Once all the sugar has been added, continue beating until stiff peaks form. The meringue should be glossy and hold its shape when you lift the beaters.
Step 3: Assemble the Banana Pudding
- Layer the Wafers and Bananas: In a 9×13-inch baking dish or a large trifle bowl, layer the vanilla wafer cookies at the bottom. You can break some of the cookies to fill in gaps around the edges of the dish. Then, layer the sliced bananas on top of the cookies, arranging them evenly over the surface.
- Add the Pudding: Pour the prepared vanilla pudding over the bananas and cookies, spreading it evenly with a spatula. Make sure the pudding completely covers the bananas and wafers.
- Top with Meringue: Once the pudding is spread evenly, spoon the prepared meringue over the top of the pudding, spreading it out to cover the entire surface. Use the back of the spoon to create little peaks and swirls in the meringue, as these will brown nicely when baked.
Step 4: Bake the Banana Pudding
- Bake the Meringue: Preheat your oven to 350°F (175°C). Place the assembled banana pudding in the oven and bake for about 12-15 minutes, or until the meringue is golden brown and set. Keep a close eye on it to avoid overbaking, as the meringue can quickly go from golden to burnt.
- Cool the Pudding: Once the meringue is golden and firm, remove the pudding from the oven. Allow it to cool at room temperature for about 30 minutes, then refrigerate for at least 2 hours to allow the flavors to meld and the pudding to set properly.
Step 5: Serve and Enjoy
- Slice and Serve: After the pudding has chilled, slice it into squares or scoops, depending on how you’ve layered it. The meringue should be crispy on top, and the pudding should be thick, creamy, and smooth.
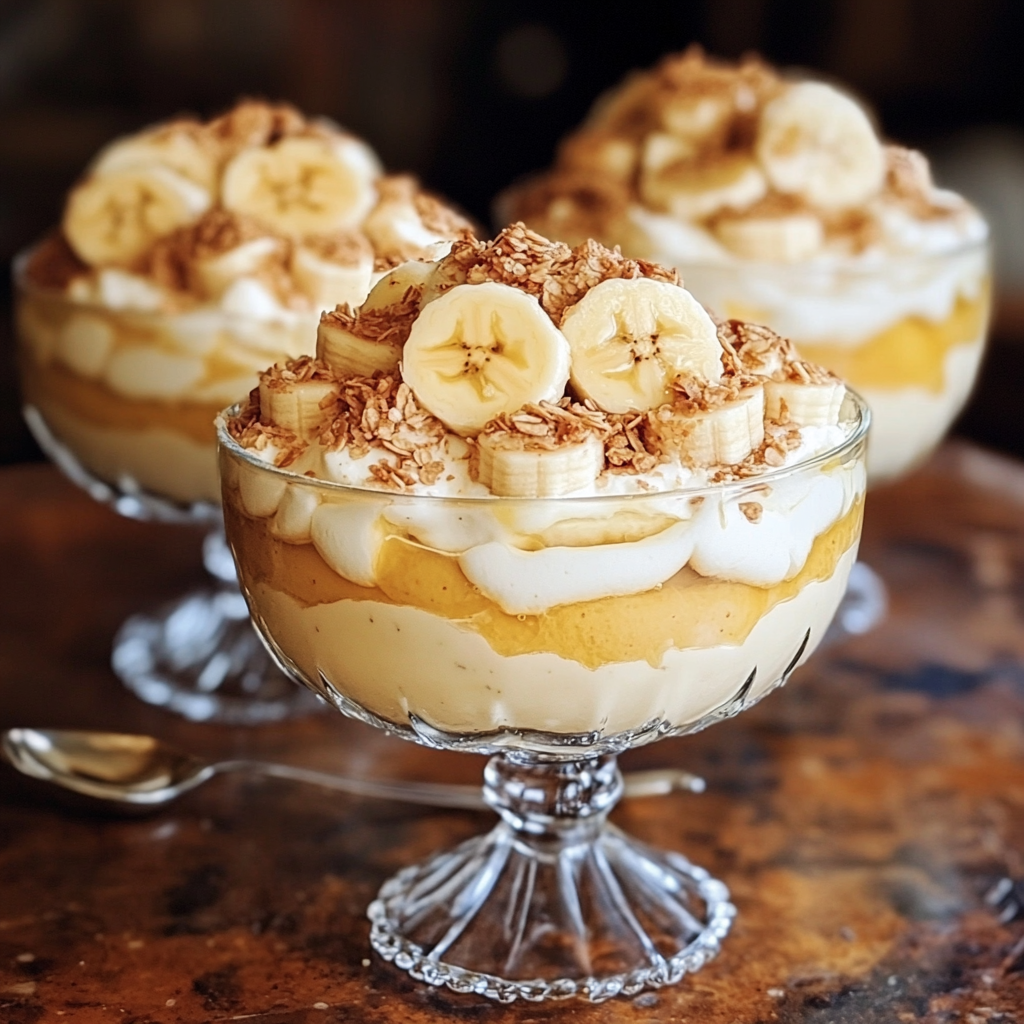
- Garnish (Optional): If you’d like, garnish your banana pudding with a few extra banana slices or crushed vanilla wafers on top. This adds a little extra texture and flavor and makes the dessert look even more inviting.
Tips for the Perfect Banana Pudding
- Use Ripe Bananas: For the best flavor and texture, use ripe but firm bananas. Overripe bananas may turn mushy and release too much moisture into the pudding, while underripe bananas might not offer enough sweetness.
- Make the Pudding in Advance: Banana pudding tastes even better when it’s allowed to sit for a few hours or even overnight. This gives the flavors time to meld, and the cookies will absorb some of the pudding, creating a lovely texture.
- Avoid Overbaking the Meringue: When baking the meringue, be careful not to overbake it. The meringue should be golden and firm but not too dark. If you see the meringue starting to brown too quickly, you can cover it with a piece of aluminum foil and continue baking until it sets.
- Don’t Skip the Vanilla Wafers: The vanilla wafers are an essential part of banana pudding. They soften as the pudding sets, creating a wonderful, almost cake-like texture in between the banana layers.
- Make Ahead and Refrigerate: Banana pudding benefits from being made ahead of time. It needs time to set and chill in the fridge to allow the pudding to firm up and the flavors to develop. Aim to make it a few hours ahead or the night before.
Creative Variations of Classic Banana Pudding
While classic banana pudding is delicious on its own, there are several variations you can try to give the dessert a personalized twist:
- Chocolate Banana Pudding: Add a layer of chocolate pudding between the banana and vanilla layers for a chocolatey version of this dessert. You can either use store-bought chocolate pudding or make your own using cocoa powder, sugar, milk, and cornstarch.
- Peanut Butter Banana Pudding: Stir in some peanut butter into the vanilla pudding for a delicious peanut butter twist. The richness of peanut butter pairs beautifully with bananas and adds an extra layer of flavor to this dessert.
- Coconut Banana Pudding: Add shredded coconut to the pudding mixture or sprinkle it over the meringue before baking. Coconut pairs wonderfully with bananas and gives the pudding a tropical flavor.
- Banana Pudding Cups: For individual servings, make banana pudding in small cups or mason jars. Layer the ingredients just like you would in a large dish, but use smaller portions for a cute and portable version of this dessert.
Storing and Freezing Banana Pudding
Storing: Banana pudding can be stored in the refrigerator for up to 3 days. However, the meringue may lose its crispness after a day or two. If you’re making it ahead of time, it’s best to add the meringue shortly before serving for the best texture.
Freezing: Banana pudding doesn’t freeze well due to the texture of the meringue and bananas. If you do freeze it, you can freeze the pudding base (without the bananas or meringue) and assemble the dessert after thawing.
Final Thoughts
Classic banana pudding is a simple, yet indulgent dessert that’s sure to bring comfort and joy to any occasion. The creamy pudding, the sweetness of ripe bananas, and the crunchy vanilla wafers make for an irresistible combination. Whether you’re serving it for a family gathering, a barbecue, or a holiday dinner, banana pudding is a dessert that always gets rave reviews.
With this recipe, you can create a homemade banana pudding that’s as close to perfection as possible. The layers of creamy pudding, fresh bananas, and sweet meringue make it a dessert that will quickly become a family favorite.